31 March 2011

Love my 'Love Elsie' stash!

I have a mild obsession with all things from the 'Love, Elsie' brand and have been building my stash for a long time now.  I love the funky colours, free hand style, doodling and range of themes :)

The collection has everything from chipboard frames, to gel stickers, to rubber charms to albums and idea books....a never ending supply of creative fun!

Whilst browsing the internet recently, I came upon an online shop that was having a Love Elsie sale (50% off!) so bought loads of stuff!! The recipe box (in the top left corner) was my most recent e-bay purchase.  I won it from a lady in Florida for only $5, total bargain and it has tons of ideas in it.  There's over 100 'recipe' cards which each have a layout idea and how to make it :)


Anyway, the brand came out in 2007 and alot of online shops are now permanently out-of-stock so i'll be using my stash sparingly.

I was recently browsing my local pound-land and they've got some great craft supplies in there....


Packets of self adhesive bling, I got 3 packs, this stuff is quite expensive in scrapbook shops.  Also got glue dots which are identical to the expensive ones in craft shops and also got 3 packs of foam adhesive which comes in a roll and pre-cut mini rectangles, so handy :)

So that's all my recent stash purchases, will update with some recent layouts in the next post x x

25 March 2011

my new scrapbook space

I only have a small area of our bedroom for my scrapbooking space so I had to use it wisely. I got the desk off e-bay for a bargain £21, it's so great as a scrapbook desk because it's got lots of storage :) Also the table isn't very deep so it doesn't impose much into our room.


I bought the CD racks (the towers at either end of the desk) from Argos and my dad helped me assemble them :)  The shelving unit in the middle was from a furniture charity shop for the bargain price of £6! I painted it the same colour as our bedroom wall so it was all nice and uniform.  My hubby then screwed some battoning onto the back of the unit and screwed it into the wall through the backboard.  I had to hold it up there whilst he screwed it in place and my arms were burning and shaking from the weight of it!


It was really fun orgainsing all my stuff onto it.  It looks so pretty and inspiring with all my stash on display! I made a little banner using a Maya Road chipboard coaster album.  I then lined up all my Cosmo Cricket 12x12 chipboard element pages at the back of the desk.  My most prized possesion at the moment is my Love Elsie recipe box then I won off e-bay from a lady in Florida :)


My little lamp was a cast off from my sister and it co-ordinates perfectly but this area of the room is flooded with light all afternoon which is lovely.  Anyway just wanted to show how much could be done with a small amount of space.  I've been looking at you-tube videos of women in America that have entire rooms devoted to their hobby and have floor to ceiling storage for their thousands of stamps and posh gizzmos and gadgets and machines. Don't know where they find the time to use it all! Not that i'm jealous in any way!

27 September 2010

wedding scrapbook...loved making this :)

 This is the front cover. I used a polaroid camera image from Nancy and Betty (so fabulous!) and some delicious fabric paper from the Love Elsie range, can't get enough of her stuff! The title is made up of my new Thickers from Hobbycraft, thought they looked quite Cinderella-ry :)


 My beautiful bridesmaids! I don't think i'm going to ever get bored of the shade of green that their dresses were. The embellishments down the side are a mixture of Jillibean Soup, October Afternoon. Love Elsie and Making Memories.


 This was David's face as he watched me walk down the aisle.  Thankyou Kara for getting some pics of him in this unforgettable moment :)


The Order of Services, a labour of love but these jobs always seem easier when done infront of a good TV programme :)


  Our families...quite a size difference!


It was pretty fun having photos taken after the service, the weather just about held!


Our reception location. It was a complete miracle that we found this place but it was perfect for us :)


 Who doesn't love apple printed paper?!

                                                         
The funkiest cake ever!

                                                   
Some mates from curch :) Was fun making this paper bunting, much less hassle than the real stuff!


This is the back cover.  There is a tiny button on the car and when it is pressed, the whole embellishment lights up and flashes, so tacky but very appealing!


 Hope you liked.  I've done a ton of scrapbooking during my mahussivly extended summer holiday! I fear that when I go back to work it's going to be a bit neglected :(

22 September 2010

Succulents

In keeping with the out-doorsy, natural theme of the wedding, my Mum had the genious idea of making up little succulent pots for guests name places.  Thankfully, she had this brain wave in the very early stages of wedding planning so that gave us 11 months to collect baked bean tins...95 of them!  I roped in relatives to start eating baked beans from the smaller tins and the old ladies at church started collecting them as well.

Mum started collecting lots of varieties of succulents and taking cuttings from them so that they'd multiply.  By July, the conservatory window sill was covered in trays of succulents, ready for planting.  About 3 weeks before the wedding, we painted all the tins, tied rafia around them, filled them with soil and planted the little succulents.  It was tedious and time consuming but this was a repetitive job that mum was actually looking forward to!


On the day, they looked great, all lined up together at the entrance of the marquee.


Everyone took theirs home as a little momento of the day :) Some people thought I chose each succulent to represent them (i.e short and fat, tall and prickly, wide and hairy!) but I can assure you this was not the case!

16 September 2010

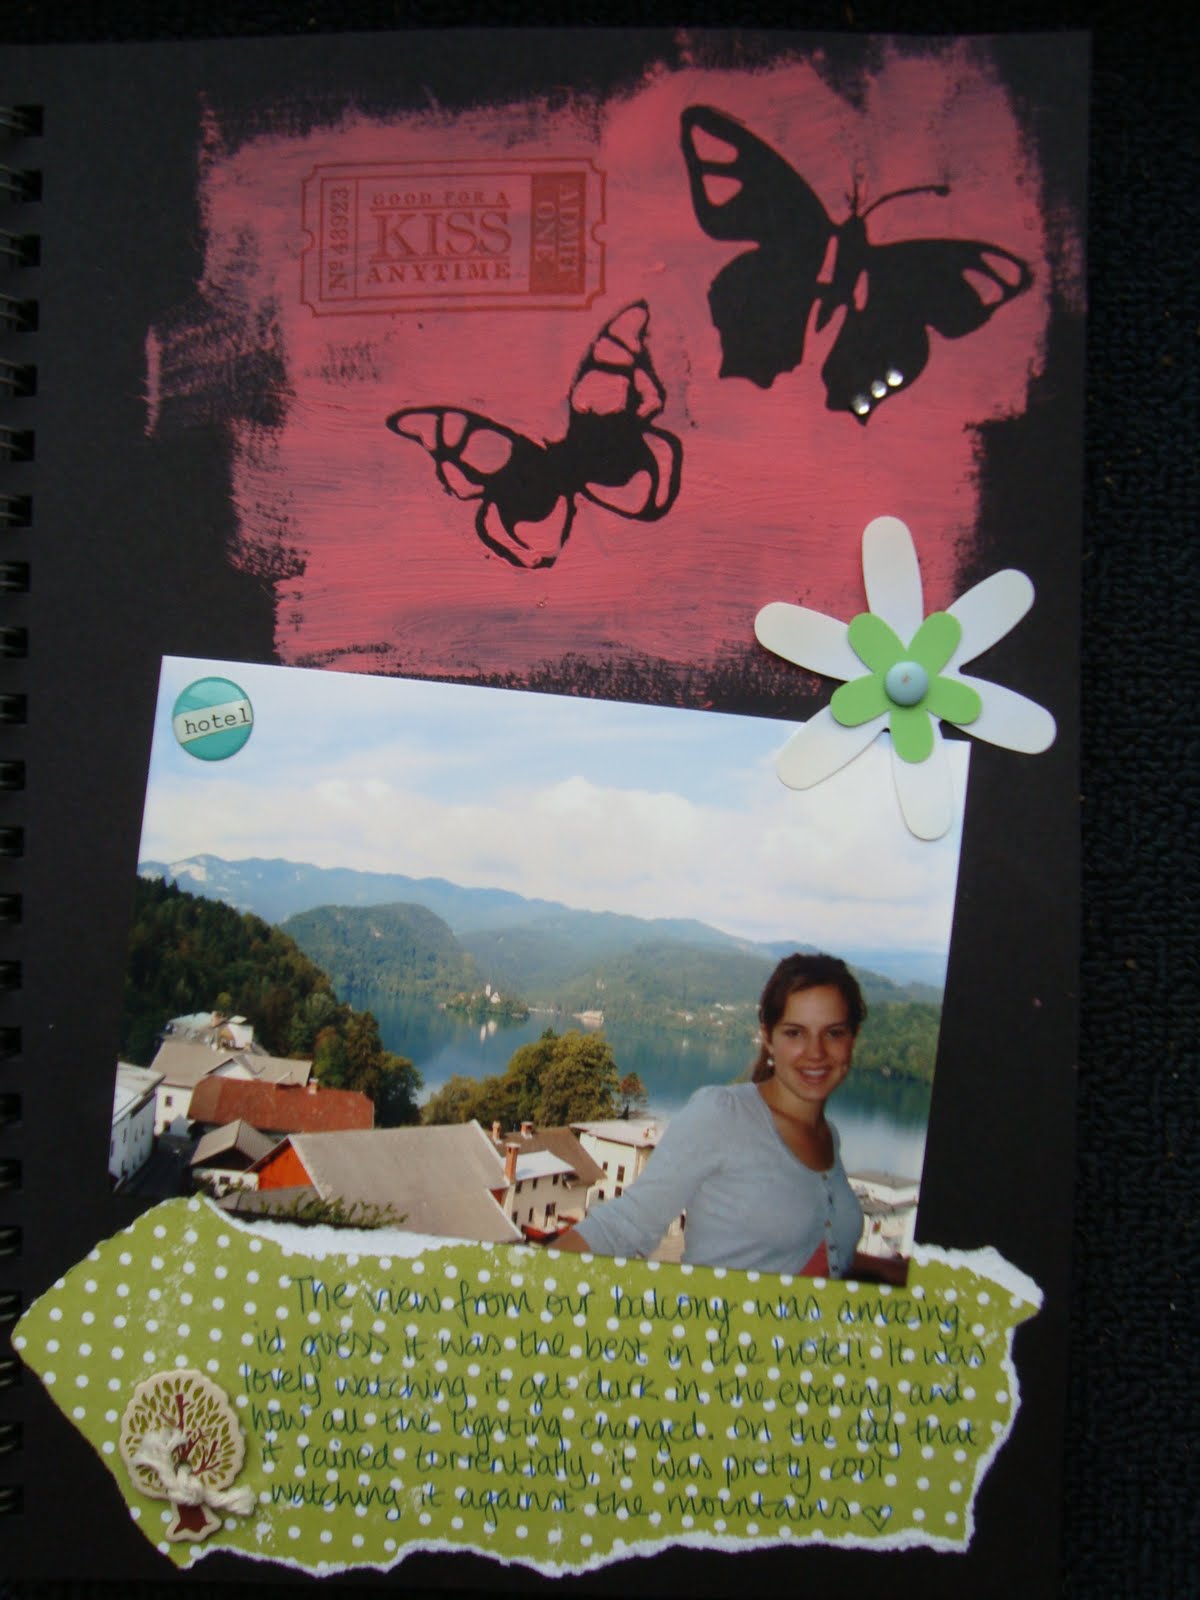
Our honeymoon in Slovenia :)

I bought Elsie Flannigans book '52 scrapbook challenges' off Amazon a while ago and have used some of her pages as inspiration to do this scrapbook.  Alot of her pages are made up of circular backgrounds using different elements which is a great way use those tricky embellishments.


We stayed at Lake Bled for the week.  This page is mainly made up of a customised chipboard arrow, a jillibean soup fabric flower and some yummy thickers :)


I used a masking technique on this page and I'm really pleased with how it turned out.  I have hundreds of little diamantes left over from making our wedding invitations so i've put a few on every page. Have also used some obligatory 'Love, Elsie' embellishments!


This was a very cool day out.  We went on a long walk through a few Slovenian villages before reaching this gorge which has a long wooden walkway through it.  We took loads of pictures and mini movies which was fun. The force of the water was incredible!

23 June 2010

A few more DIY projects..........

My Aunt's dad restores sewing machines and he'd set this one aside for me as a wedding present from my two younger sisters.  However, i've been using it already and think it's quite sentimental that the order of services were bound using it.  The machine is 100 years old this year and was made in a factory in Scotland (which at the time was the biggest producer of sewing machines in the world!).  The Singer company has a website where you can type in the sewing machines serial number and it tells you all about it's production date etc.  I wonder who originally owned this machine?  It must have made alot of items of clothing and cushion covers and aprons etc, a piece of history..........


This is my mum doing another repetitive job!  I had to turn the handle for her :)


This is all the favours that mum and I made, we bought the jars and lids months ago and cut the toppers out of the scrap bridesmaid dress material and some other fabric that we bought in John Lewis.  We also made all the jams ourselves and only had one disaster where a pot slipped out my hand (with no lid on) and jam went everywhere! oops!


A close up of our personalised labels complete with the phrase 'David and Abby's wedding, 7th of August 2010'.


I won a bargain on e-bay, a chunky solid pine dining table and four chairs complete with cushions.  We sanded back the table and Dad re-waxed and buffed it :)


A cute photo to finish.....David always has his head in a book except this one is a kids book about dinasours :)

3 June 2010

More wedding prep!

David helping Dad construct the photo-booth that will be at our reception.  It will be medically themed and contain props and posters :)


David posting our precious invitations, a great moment!! Just have to wait for all the RSVP's now :)

6 May 2010

hand made block letters x x x

So these are the blocks that we made to go along the front of the top table.  My mum, fiance and I painted these blocks with two layers of different coloured paint, sanded them to make them look rustic and then I hand painted these letters on......cool hey :)

16 March 2010

And the wedding planning continues.......

So there are less than 150 days to go until the wedding! Everyone tells me it will fly by but at the moment it feels like time is slowing down and I just can't wait for the summer..  The international invitations have been sent out and the rest will be sent out at the beginning of May (have mini party!) Then the next phase of planning (i.e. table plans etc) will swing into action :)

I decided to create a massive sign which will slip over the current sign outside our reception entrance.  However, once i started this little project, i realised it would take much longer than previously anticipated! Had to cut out a template for all the letters, pin them onto coloured fabric, cut that out, size up the background fabric, pin the letters onto this, stitch all the letters on with sewing machine, phew! I stuck at it though and am pleased with the final result (although i wont be getting an A* for craftsmanship!).


And here's Dad putting together a mock up of our centre pieces, i love them!  There's going to be cute little butterflies nestling on a couple of the apples :) Very rustic (and cheap to make)

17 February 2010

Wedding prep scrapbook x x x x

 
Here's Mum assembling the invitations, the final stage in a very very long process!  I thought these would never get finished but all that's left to do is stick a photo of David and I in there and write the guests names, I think we're going to have a little party when they go down to the postbox!
  
 These are the little 3" figures that are going on the front of our order of services.  A little brown boy and a little beige girl with a mini diamante on her left hand, cute :) They were all cut out on Auntie Gillies 'Slice machine', perfect!

 
And finally, painting the numbers that will make up part of the centre pieces, I love doing all the little crafty bits for the wedding, my old bedroom is now the wedding storage room.